Drawing Trees in LaTex with Tikz
Published on
Updated on
For the longest time I’ve been avoiding Tikz because I imagined it being too difficult to learn. Usually I create a graphic using a program like Draw.IO and import it as an image. Though this time around, I decided that I’m going to learn how to make trees in Tikz. It turns out, it’s not as bad as I anticipated.
I’m only going to provide a few simple examples in this post. To learn more check out the Tikz documentation on trees.
Remember to have \usepackage{tikz} in the preamble.
To create a Tikz figure, you’ll need to create a tikzpicture environment
\begin{tikzpicture}
 % Tikz Code Here
\end{tikzpicture}
Every tree first begins with a root node.
\begin{tikzpicture}
	\node {Root Node};
\end{tikzpicture}
The semicolon at the end denotes the end of a tikz command.
Now let’s make the root node have one child node.
\begin{tikzpicture}
	\node {Root Node}
		child {node {Child Node}};
\end{tikzpicture}
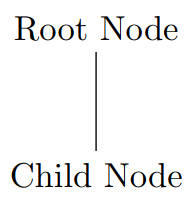
Notice that the text of the nodes are within the {} after the node command.
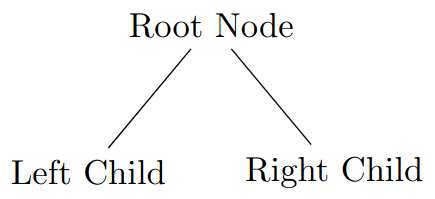
To create another child for a node, place it in the same level as the existing child.
\begin{tikzpicture}
	\node {Root Node}
		child {node {Left Child}}
		child {node {Right Child}};
\end{tikzpicture}

The rendered tree may have text overlap as shown in the last screenshot. This is where tikz options come in. We can define the separation distance between siblings. I don’t have many tips for choosing the value other than to play around and see how it looks.
\begin{tikzpicture}
[
    level 1/.style={sibling distance=25mm}
]
	\node {Root Node}
		child {node {Left Child}}
		child {node {Right Child}};
\end{tikzpicture}
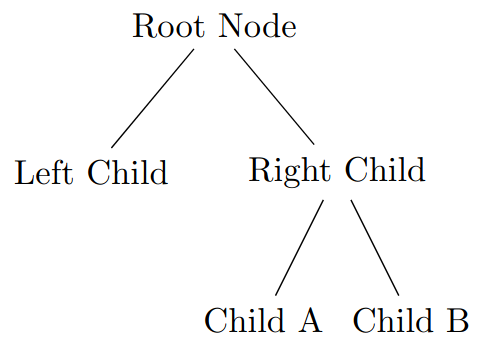
To show how the child nesting works, I’ll finish by giving the right child two children nodes.
\begin{tikzpicture}
[
    level 1/.style={sibling distance=25mm},
    level 2/.style={sibling distance=15mm},
]
	\node {Root Node}
		child {node {Left Child}}
		child {
		    node {Right Child}
		    child {node {Child A}}
		    child {node {Child B}}
		};
\end{tikzpicture}